About Zoom Phone call reporting
VoIP Detective reads your Zoom Phone call history from Zoom every 5 minutes and stores it on your own VoIP Detective server. You decide how long records are kept, and administrators can search calls without signing in to the Zoom admin portal.
Zoom Phone reporting works on both the free and Pro licenses. On the free license, records are kept for up to 7 days and scheduled reports are not available.
Before you start
You need three things in place before setup.
- A Zoom account with Zoom Phone. Zoom only shares call records with accounts on a Zoom Workspace Pro or higher plan that have Zoom Phone turned on. If Zoom Phone is not on, the connection test fails (Zoom error 2031).
- A Zoom admin who can create Server-to-Server OAuth apps. The account owner can do this. Other admins need the permission described in Step 2. Create the app from an admin account that will stay in place: the app can never have more rights than the person who created it.
- Outbound internet access from the VoIP Detective server on HTTPS (port 443) to zoom.us (sign-in) and api.zoom.us (call records). Nothing needs to reach VoIP Detective from the internet. If you have set a proxy in VoIP Detective, Zoom uses it too.
Overview of the steps
- Install the VoIP Detective virtual machine.
- Create a Server-to-Server OAuth app in the Zoom App Marketplace, add the required scopes and activate it.
- Enter the app’s Account ID, Client ID and Client Secret in VoIP Detective — in the install wizard for a new install, or in Administration -> Configuration for an existing one.
- Check that calls are importing.
Step 1 - Install the VoIP Detective virtual machine
Obtain a License key, and download the virtual machine from this page - you'll create an account first (only email and name are required).
https://www.voipdetective.com/install-voip-detective-now/
Step 2 - Create the Zoom app
VoIP Detective connects to Zoom through a private Server-to-Server OAuth app that you create in your own Zoom account. It is not listed publicly and needs no review by Zoom.
Give the admin permission (skip if you are the account owner)
- Sign in to the Zoom web portal as the account owner.
- Go to User Management -> Roles, open the admin’s role, then Role Settings -> Advanced features.
- Tick View and Edit for Server-to-Server OAuth app, then save.
The role also needs Zoom Phone view rights, or the scopes below cannot be added.
Create the app
- Sign in to marketplace.zoom.us with the admin account.
- Click Develop, then Build App.
- Choose Server-to-Server OAuth App and click Create.
- Name the app, for example VoIP Detective, and click Create.
- On the App Credentials page, note the Account ID, Client ID and Client Secret. You will enter them in VoIP Detective.
- On the Information page, fill in the company name, developer name and email. These are required before the app can be activated.
Add the scopes
On the Scopes page, click Add Scopes, search for each scope below and add it.
Scope | What VoIP Detective uses it for |
phone:read:list_call_logs:admin | Reads the account’s call history |
phone:read:call_log:admin | Reads call details such as transfers, queues and forwarding |
phone:read:list_users:admin | Reads Zoom Phone users so calls show names |
phone:read:list_sites:admin | Reads sites on multi-site accounts |
| phone:read:call_qos:admin | Call quality reports |
| phone:read:list_call_queues:admin | Call queue names in reports |
| phone:read:list_call_queue_members:admin | Call queue member reports |
| phone:read:list_auto_receptionists:admin | Auto receptionist names in reports |
| phone:read:list_devices:admin | Desk phone list |
| phone:read:call_charges:admin | Call cost reports |
VoIP Detective only reads data. It does not need event subscriptions or any write scopes.
Activate the app
On the Activation page, click Activate your app. If the button is greyed out, a required field on an earlier page is empty.
Important: If you regenerate the Client Secret in Zoom, or deactivate or delete the app, call import stops. Enter the new secret in VoIP Detective straight away.
Step 3a (new installs) - Set up Zoom in the install wizard
On a new install, you enter the Zoom credentials inside the install wizard. No login is needed at this stage.
- On the platform selection page, choose Zoom.
- On the Zoom credentials page, paste the Account ID, Client ID and Client Secret from Step 2, then click the save button. Extra spaces are removed for you, and the secret is never shown again.
- VoIP Detective saves the credentials and tests the connection. A popup shows the result. When the test passes, it shows the number of Zoom Phone users and the number of calls in the last 24 hours.
- In the background, VoIP Detective starts reading your Zoom Phone users and sites.
- Work through the getting started checklist:
- Change the default passwords.
- Review your Zoom settings (the link opens Administration -> Configuration at the Zoom section).
- Verify that calls are importing (see Step 4).
- Click Complete Setup.
Note: If the connection test fails, setup still continues. Fix the credentials later in Administration > Configuration. After you click Complete Setup, the wizard’s credentials page does not come back.
Step 3b (existing installs) - Set up or change Zoom in Administration > Configuration
Use this on a server that has already finished setup, or to change the Zoom credentials later.
- Go to Administration > Configuration and scroll to the Zoom Call Reporting section.
- Set Zoom to Enabled and save. The page reloads and shows the rest of the Zoom settings.
- Enter the Account ID, Client ID and Client Secret. Each setting has its own save button; save each one.
- Choose a Data Retention period. The free license offers 3 or 7 days; Pro offers longer periods.
- Click Test Zoom connection. VoIP Detective runs its checks and shows the result.
The Zoom section also shows the sign-in (token) status and the import status, including when calls were last imported. VoIP Detective refreshes your Zoom Phone users and sites every night.
Step 4 - Check that calls are importing
VoIP Detective checks Zoom every 5 minutes. Allow 10 to 15 minutes after a test call before you look.
- Click Zoom in the top menu and choose Admin Search.
- Click Search to see the calls imported today.
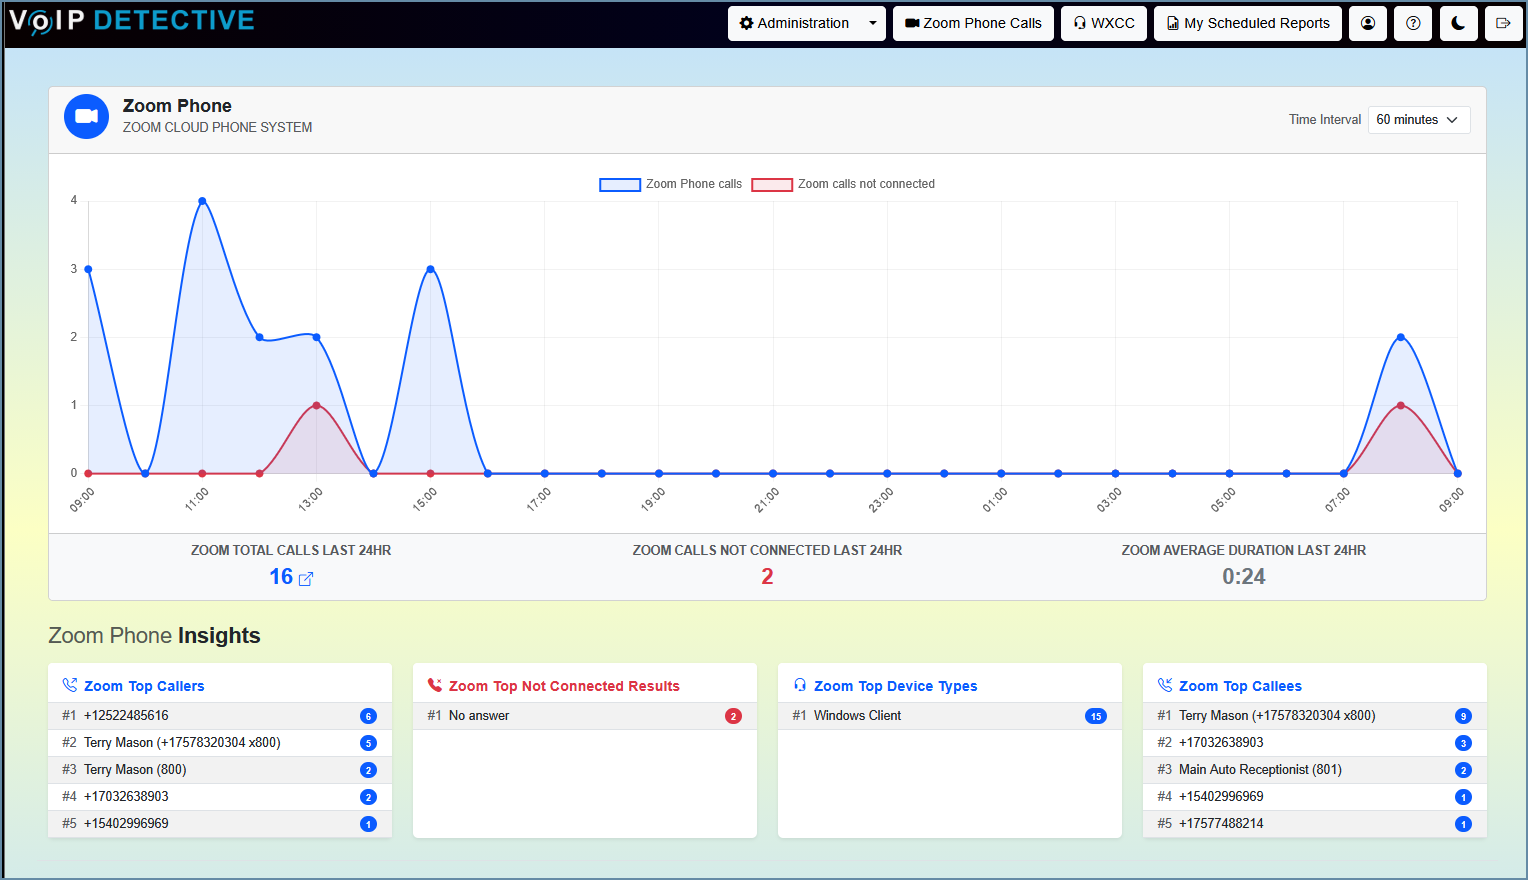
The administrator dashboard also shows a Zoom chart for the last 24 hours.
Good to know:
- Call details (transfers, queues, forwarding) are read separately, up to 250 calls per 5-minute check. On a busy system, details can appear a little later than the call itself.
- Each night VoIP Detective re-reads the previous two days, so any calls Zoom reported late are picked up.
Troubleshooting
Start with the Zoom log: Administration > Logs, Zoom card.
Problem | What to check |
Connection test fails to sign in | The Account ID, Client ID and Client Secret are copied exactly; the app is activated; the app type is Server-to-Server OAuth. |
Error 2031 or 403 from Zoom | Zoom Phone is turned on and licensed for the account; all the scopes in Step 2 are added to the app. |
Server-to-Server OAuth is greyed out, or a scope cannot be added | The admin’s role is missing the permission in Step 2. |
No calls after 15 minutes | The server can reach zoom.us and api.zoom.us on port 443. If your network inspects SSL traffic, ask your network team to exclude these two addresses. |
Calls show numbers but no names | Users are refreshed nightly and after the credentials are saved. Check the phone:read:list_users:admin scope. |
A gap in older calls | Go to Administration > Troubleshooting, Zoom section, and run a manual call import. |
Zoom log shows “not configured” every 5 minutes | One of the three credentials is blank. Enter it in Administration > Configuration. |
Related articles
Installation:
You may also like:
Was this article helpful?
That’s Great!
Thank you for your feedback
Sorry! We couldn't be helpful
Thank you for your feedback
Feedback sent
We appreciate your effort and will try to fix the article